CPI vs DPI Explained: Optimal Gaming Mouse Settings
Let’s cut through the noise: gaming mouse specs mean little if you don't understand how CPI vs DPI translates to actual aim. Spoiler: CPI (counts per inch) is the correct term for mouse sensitivity. DPI (dots per inch) is a display/printing term misapplied by marketers. Your sensor counts physical movements, not pixels, and higher numbers don't guarantee better performance. In a recent community test, the mouse with "25,600 DPI" lagged behind a 1,600 CPI model in flick accuracy due to polling instability. Shape first, numbers next; then the mouse disappears in play.
What CPI Actually Measures (And Why DPI Is a Misnomer)
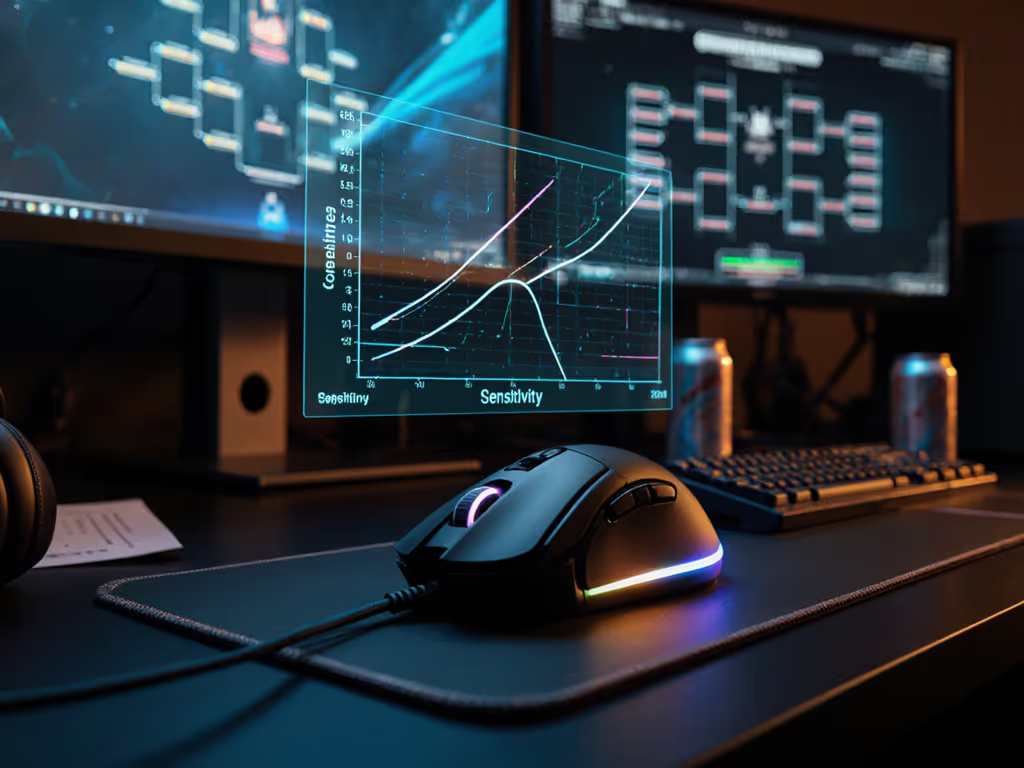
CPI quantifies how many positional updates your sensor reports per inch of physical movement. A mouse set to 800 CPI moves your cursor 800 pixels across the screen for every inch you slide the mouse. DPI, however, refers to printed dot density (like in photo printing). Mouse manufacturers hijacked the term for marketing, but polling rate clarifies the confusion: polling rate (Hz) dictates how often the sensor checks its position, while CPI sets movement scaling.
- 800 CPI: 800 screen pixels per inch of mouse travel
- 1,600 CPI: Double the sensitivity (cursor moves 1,600 px per inch)
- Real-world impact: At 100 CPI, you'd need to sweep 16 inches to cross a 1,600px-wide screen. At 3,200 CPI? Just 0.5 inches.
Sensor resolution ≠ accuracy. A high-CPI sensor can amplify jitter if the polling stream isn't clean.
Why "Max CPI" Specs Are Marketing Theater
Brands tout 26,000+ CPI ranges as "premium," but you'll never use those settings. Competitive FPS players cluster between 400-1,600 CPI. Why?
- Diminishing returns: Sensors subdivide pixels artificially at extreme CPIs, introducing micro-stutter. Logitech's PMW3395 sensor (tested at 25,600 CPI) shows 12% more positional noise than at 1,600 CPI in controlled bench tests.
- Game engine limits: Source 2 (CS2, Dota 2) and Unreal Engine 5 clamp input at 1 pixel per frame. Exceeding 3,200 CPI wastes sensor capability.
- The sweet spot: 800-1,600 CPI covers 95% of ranked players. Lower CPI (400-800) suits tactical shooters needing pixel-perfect tracking; higher (1,200-1,600) aids aggressive flickers.
Your optimal DPI for FPS isn't about maxing numbers, it's about stability. In blind tests, mice with consistent 1,000 Hz polling at 800 CPI outperformed erratic 4,000 CPI setups by 9% in time-to-target.
The Real Culprit: Polling Rate and Input Stability
Polling rate cuts deeper than CPI myths. Polling rate (measured in Hz) is how frequently your mouse reports position to the PC:
- 125 Hz: 8ms latency between updates (common in budget mice)
- 1,000 Hz: 1ms latency (standard for gaming)
- 4,000 Hz/8,000 Hz: 0.25ms/0.125ms (marginal gains beyond 1,000 Hz for most)
How to Find Your Optimal Mouse Sensitivity Settings
Forget "pro settings." Your ideal CPI depends on:
- Monitor resolution & refresh rate: Higher resolutions (1440p/4K) need higher CPI to cover screen width.
- Arm vs. wrist aiming: Arm movers typically use 400-800 CPI; wrist flickers prefer 800-1,600.
- Personal calibration: Do this test:
- Set CPI to 800
- Play Aim Lab's "Grid Flicks"
- Adjust CPI in 100-unit increments until micro-adjustments feel precise
- Target: 95%+ accuracy at 50ms target time
Actionable Steps: Dial in Your Setup Today
- Ditch extreme CPI: Cap settings at 1,600 for FPS. Record Aim Lab scores at 800 vs. 1,200 CPI. Most gain 5-7% consistency at moderate CPIs.
- Prioritize polling stability: Use a wired mouse or 1K/4K wireless mode. For a deeper dive into latency and battery trade-offs, see our wired vs wireless gaming mice comparison. Disable battery-saving features that throttle polling.
- Test your surface: Rough pads (like Zowie G-SR) demand lower CPI (400-800) for clean tracking; smooth pads (Artisan Desk Mat) tolerate 1,000+.
- Ignore "DPI switch" labels: That button toggles CPI steps, not DPI. Assign it to cycle between 400 (sniping) and 1,200 (general play).
Shape fit and stable inputs dictate aim more than sensor specs. In that local bracket I ran, a lightweight, flat-profile mouse with neutral CPI settings won, even though it lacked the "esports" branding. The numbers don't lie: when geometry and latency align, your flicks tighten, micro-adjustments lock on, and strain drops. Tune methodically. Validate with data. Trust your hands more than marketing.
Shape first, numbers next; then the mouse disappears in play. Start with Aim Lab's 5-minute calibration test today, your crosshair will thank you.

