How Gaming Mouse Shell Geometry and Airflow Shape Your Aim
By Leila Haddad • 6th Jun
A gaming mouse is not just a sensor on skates; it is a moving shell that controls how your hand applies force, how heat and sweat dissipate, and how stable your crosshair feels at speed. When you understand how shell geometry and airflow impact your aim, you stop chasing random hype and start choosing shapes that make your aim feel automatic.
I learned this the hard way, grinding on oversized right-handed humps that fought my left hand for years. The day I switched to a low-profile, ambidextrous shell that matched my hand outline, my fingertip grip settled and my micro-corrections almost disappeared. That is the power of geometry that respects your hand.
What does "shell geometry" actually mean in a gaming mouse?
When I say shell geometry, I am talking about the 3D shape your hand physically interacts with:
- Length and height (hump placement): Where the highest point of the mouse sits under your palm (mid, mid-rear, or rear).[1]
- Grip width: The waist where your thumb and ring finger pinch the mouse. A useful heuristic is that ideal mouse grip width is about 60% of your hand breadth across the knuckles.[2]
- Side flare and taper: How much the sides flare out at the front and narrow at the rear. For small hands, front flare of roughly 2-3 mm and rear taper of 4-5 mm help create a stable "cup" for claw and fingertip grips.[5]
- Shell curvature: The way the top and sides curve (gentle, flat, or aggressively sloped), which affects how neutral your wrist and fingers sit.
Enthusiast testing of small-hand control suggests an ideal grip width of about 55-60 mm, with anything above 62 mm making claw grips harder to stabilize for many small-hand players.[5] If you trace your hand on paper and measure across the knuckles, you can quickly estimate whether a shell is likely to be controllable before you ever add it to your cart. For a step-by-step sizing walkthrough, see our hand size and ergonomics guide.
Control begins with geometry that respects your hand.
How does shell geometry affect aim consistency?
Aim is physics plus repeatability. Shell geometry dictates where your lever arms (fingers, palm, wrist) attach to the mouse and how efficiently they transfer force.
1. Hump position and vertical control
- A mid-rear hump supports the metacarpals while still allowing you to pivot the front of the mouse for vertical precision.[1]
- If the hump is too far forward for your hand length, you over-flex your fingers; too far back and the mouse feels "stuck" in your palm during high-angle shots.[1]
Result: misaligned humps drive inconsistent vertical flicks and fatigue over long sessions.
2. Grip width and horizontal tracking
- If grip width is too narrow for your hand, your fingers curl excessively, reducing lateral stability and making micro-corrections jittery.
- If it is too wide, your thumb and ring finger over-extend, and you start steering from the forearm instead of the fingers, which causes overflicks.[2][5]
Using the 60% rule (mouse grip width ≈ 0.6 × hand breadth)[2] keeps your joint angles neutral and lets you control the mouse from the fingertips (crucial for low-sens tracking and micro-adjustments).
3. Side flare, taper, and lift control
For small hands especially, side flare and taper directly influence lift-offs and micro-corrections:[5]
- Front flare (2-3 mm) gives your ring finger and pinky a physical ledge to pinch and lift.[5]
- Rear taper (4-5 mm) creates a palm "cup," stabilizing claw grip so you do not have to squeeze as hard.[5]
Less squeezing means less tremor and more precise micro-adjustments, exactly what you want in tac shooters. To fine-tune lift behavior alongside grip geometry, use our lift-off distance guide.
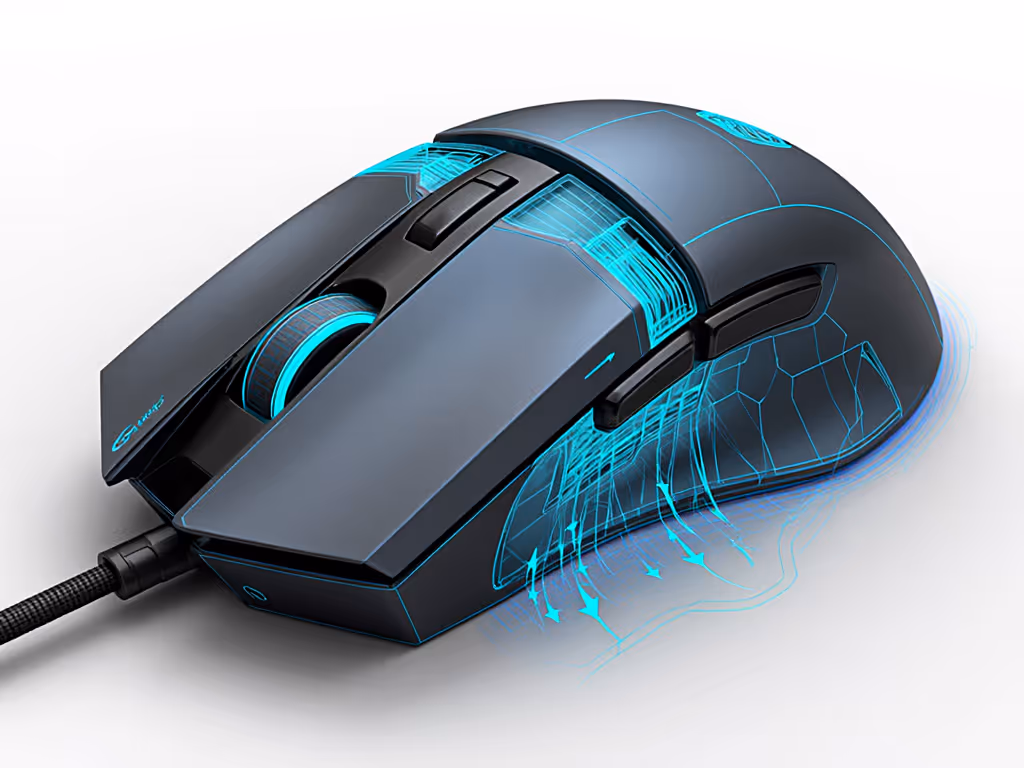
Where does airflow come in? Isn't that overthinking it?
When we talk about shell geometry and airflow impact, we are really looking at two connected aspects:
-
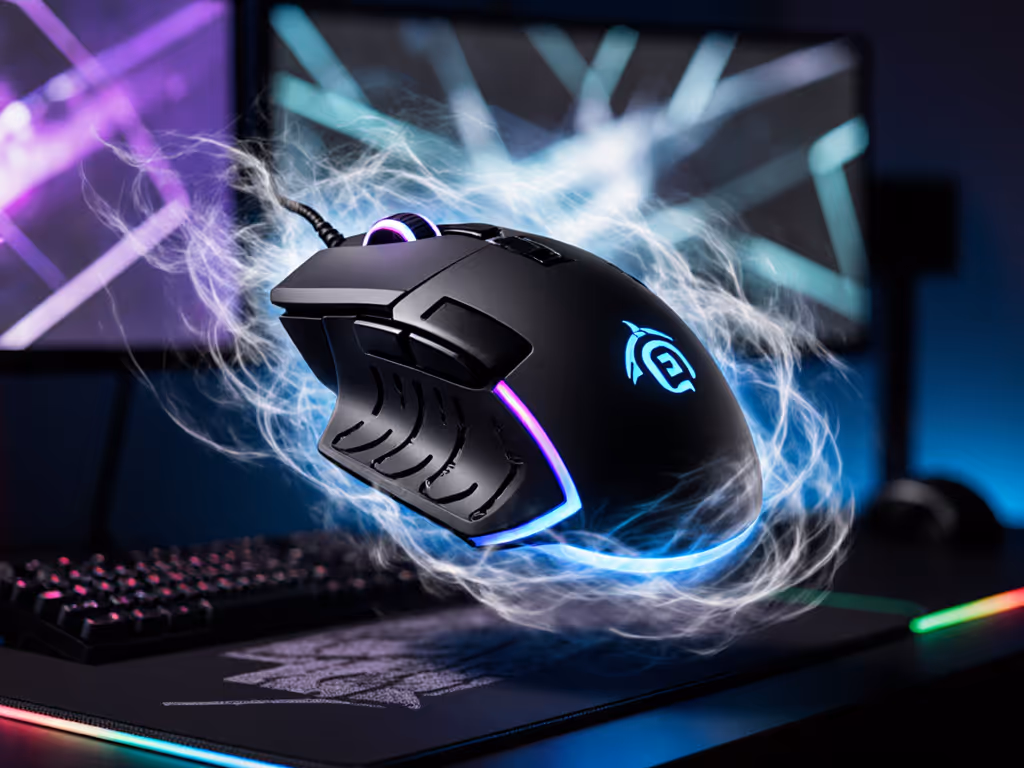
External airflow and rapid movement fluid dynamics As you swipe, the shell moves through air and your hand. At the speeds of typical arm and wrist flicks, classical mouse shape turbulence analysis matters less for raw drag and more for how:
- The shell's curvature channels air and sweat along your skin.
- Ventilation holes allow heat and moisture to escape instead of pooling between your palm and the shell.
The fluid dynamics here are relatively low-speed, but the subjective result is clear: less trapped heat and sweat means more stable grip during high-intensity aim. This is a reason designers experiment with perforations and scooped side walls.
-
Internal airflow and component heat Modern sensors and MCUs run cool and consume little power, so internal airflow has minimal effect on tracking accuracy in normal use. For deeper testing on heat and sensor stability, see our cooling and sensor accuracy analysis. What matters more is that openings in the shell reduce weight without sacrificing structural stability and can improve skin cooling.
This is where honeycomb shells enter the picture.
Does a honeycomb or vented shell really improve performance?
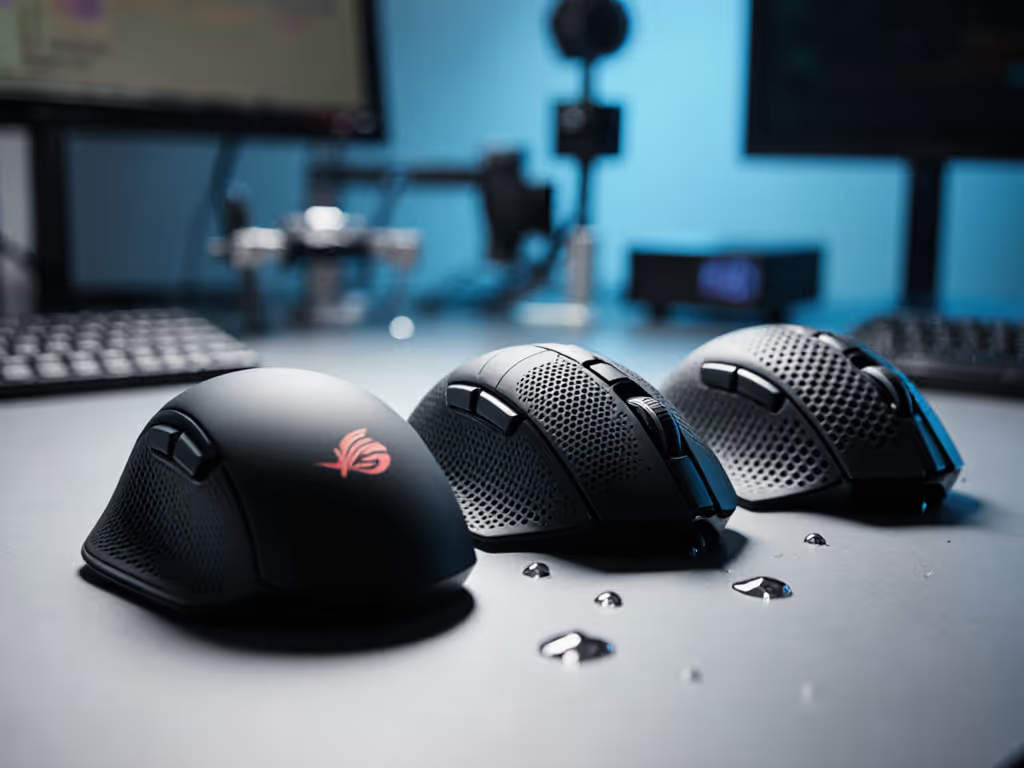
A honeycomb shell design replaces parts of the outer plastic with a repeating pattern of cutouts (often hexagons) to reduce mass while keeping enough structure for strength.[8] That directly affects both geometry and airflow.
Performance-relevant effects (backed by design goals and user data)
- Lower weight at the same size: Removing material lets designers hit 45-60 g targets, a range often cited by performance-focused builders as balancing speed and stability for multi-genre play.[1]
- More airflow between palm and shell: The openings increase surface area and allow heat and moisture to escape instead of forming a sweat film.
- Ergonomic airflow optimization: Custom shells and cutouts are used in broader ergonomic hardware to reduce physical strain and enhance precision by matching hand needs, a principle documented in ergonomic optimization guidelines for custom shells.[11]
Trade-offs to keep in mind
- Comfort: Some players dislike feeling the edges of the cutouts, especially in fingertip grip.
- Dust and debris: More openings mean easier access for dust and skin particles.
- Structural acoustics: Thinner, perforated shells can change click sound and resonance, which some users find less satisfying compared to thicker, solid tops.[4]
So yes, vented shells can help maintain grip under heat and high APM, and the weight reduction is measurable. To understand how weight placement changes control, read our weight distribution guide. But their real advantage is not "magic airflow buff"; it is enabling a lightweight, stable shell curvature and mass distribution that your hand can control more easily.
How does shell curvature impact performance for different hands?
The shell curvature performance impact shows up in how your joints align with the mouse:
- Flatter top, low profile: Better for fingertip or relaxed claw, especially if you like to pivot from the fingers and keep the wrist neutral.
- Taller, sculpted hump: Better for full palm or aggressive claw, where the palm wants a defined anchor.
- Neutral, gently curved sides: Help multi-genre players swap between grips (palm in RPGs, claw/fingertip in FPS) without friction points.[1][7]
Neutral shells with balanced curvature are often paired with high-end sensors and polling, because they're meant to be shape-agnostic platforms that work across playstyles.[1][7] That only pays off if the geometry matches your hand measurements.
As someone who tracks every shell in millimeters, here is the rule I come back to: the more the mouse disappears in your hand, the more your brain can focus on target acquisition instead of grip maintenance.
What about left-handed and small-hand players?
Left-handed and small-hand gamers are often forced into oversized right-only ergonomic shells that destabilize aim and increase strain. That is where true ambidextrous and compact designs matter.
- Ambidextrous shells: Symmetrical side walls let both hands share the same geometry; the remaining challenge is side-button placement. Many so-called "ambi" mice still favor right-handers by only giving crisp, primary side buttons on the left side. If you need model recommendations, check our true ambidextrous picks.
- Small-hand optimization: Design work on side flare and taper shows that front side flare of 2-3 mm, rear taper of 4-5 mm, and grip widths in the 55-60 mm range create solid leverage for smaller hands without over-extension.[5]
True ambi isn't compromise; it's alignment between hand and target.
When you combine a compact, low-profile ambidextrous shell with well-centered side buttons that you can reach without stretching, you reduce cognitive load: no more thinking about how to grip or where to anchor, just point and refine.
Can shell geometry and airflow really reduce strain and injury risk?
Ergonomic research on custom shells emphasizes that matching shell geometry to hand size, finger length, and grip style reduces physical strain and enhances precision.[11] That dovetails with the 60% grip-width heuristic and small-hand flare/taper guidelines:[2][5][11]
- A mouse that is too wide or too tall forces sustained ulnar/radial deviation and finger over-extension.
- A shell that is too flat for your preferred palm/claw angle shifts load to the wrist extensors.
- Poor coatings and lack of airflow force you to grip harder as your hand heats and sweats, increasing tendon load.
By choosing a shell whose geometry matches your traced hand outline (and that stays dry and controllable through ergonomic airflow optimization, like vented patterns and textured coatings), you minimize the muscle effort needed to maintain grip. Over thousands of hours, that matters more than an extra 1,000 DPI or a branding term on the box.
How can I test shell geometry and airflow at home?
Here is a practical, measurement-driven checklist you can run on any mouse you already own or are considering.
1. Measure your hand and estimate fit
- Trace your hand on paper, relaxed.
- Measure hand length (wrist crease to tip of middle finger) and hand breadth (across knuckles).
- Target mouse grip width ≈ 0.6 × hand breadth.[2] If your mouse is far outside this range, note whether you are over-curling or over-extending your fingers.
2. Map hump and curvature to your grip
- In palm grip, note where the hump sits: under the middle of your palm, closer to the heel, or too far forward.[1]
- In claw/fingertip, check whether you can fully relax the base of your fingers or if the shell forces an awkward bend.
If you frequently feel the need to "re-seat" the mouse in your hand mid-fight, that is geometry fighting you.
3. Check side flare, taper, and button reach
- Look for a small ledge at the front for your ring finger and pinky; about 2-3 mm of flare is a good starting reference for smaller hands.[5]
- Check if the rear narrows slightly (4-5 mm) so your palm can cup the shell.[5]
- For side buttons, rest your hand naturally and see if you can actuate them without lifting your thumb or torquing your wrist.
4. Run a "genre rotation" performance test
Community builders use a genre rotation test to reveal friction points in design:[1]
- Phase 1 - Tracking FPS (30-60 min): Focus on smooth vertical and diagonal tracking. Does the hump placement help or hinder high-angle shots?[1]
- Phase 2 - Click-heavy MOBA (30-60 min): Notice whether the shell encourages relaxed finger posture during 200-300+ APM fights or if you start to cramp.[1]
- Phase 3 - Long-session RPG (60+ min): Pay attention to palm support and hotspots. If you are fidgeting or stretching mid-session, the shell is not providing stable support.[1]
The shell that demands the least conscious grip adjustment across these phases is your most versatile geometry.[1]
5. Evaluate airflow and "sweat stability"
During any of these phases, ask:
- Do I need to repeatedly wipe my hand or mouse because of sweat?
- Does my grip feel more slippery as the session goes on?
- Do textured or vented areas stay more stable than smooth, unvented ones?
If you find sweat causing slips, you are a good candidate for:
- More textured coatings.[5]
- Vented or honeycomb designs that allow better palm airflow.[8]
- Slightly smaller shells that let you reduce grip force while maintaining control.[5][11]
Where should you go from here?
If you have been stuck in analysis paralysis over sensors and polling, shift your attention to shell geometry and airflow for your next round of testing. Trace your hand, log your mouse's measurements, and run the rotation and sweat-stability tests above. Over a week of play, you will start to see patterns: which lengths, grip widths, hump placements, and surface treatments let your aim feel calm and repeatable.
From there, your path is not to copy a pro's setup, but to refine your own geometry profile - ideally across a few ambidextrous, small-friendly shells that you can compare. As you do, you move closer to that state where the mouse disappears, your crosshair goes exactly where you intend, and every adjustment is intentional instead of reactive.
That is the kind of control worth exploring further, and it starts with respecting the shapes and airflow that shape your aim.
Related Articles